Get a system setup as a gift, paying for year in advance. The promotion is valid until 2024/09/30 🎁

Як поставити заміну викладача в срм Voopty

В срм Вупті є можливість разово поставити заміну викладача. Це необхідно у випадку, якщо постійний репетитор захворів, і потрібно одноразово зробити заміну в системі. Якщо вам необхідна срм система для музичної школи або ж crm система для фітнес-центру, то срм Voopty пропонує дуже зручний функціонал на випадок, якщо один із працівників хворий, і разово замінити співробітника без довгих паперових процесів. Розповімо, як це зробити. 

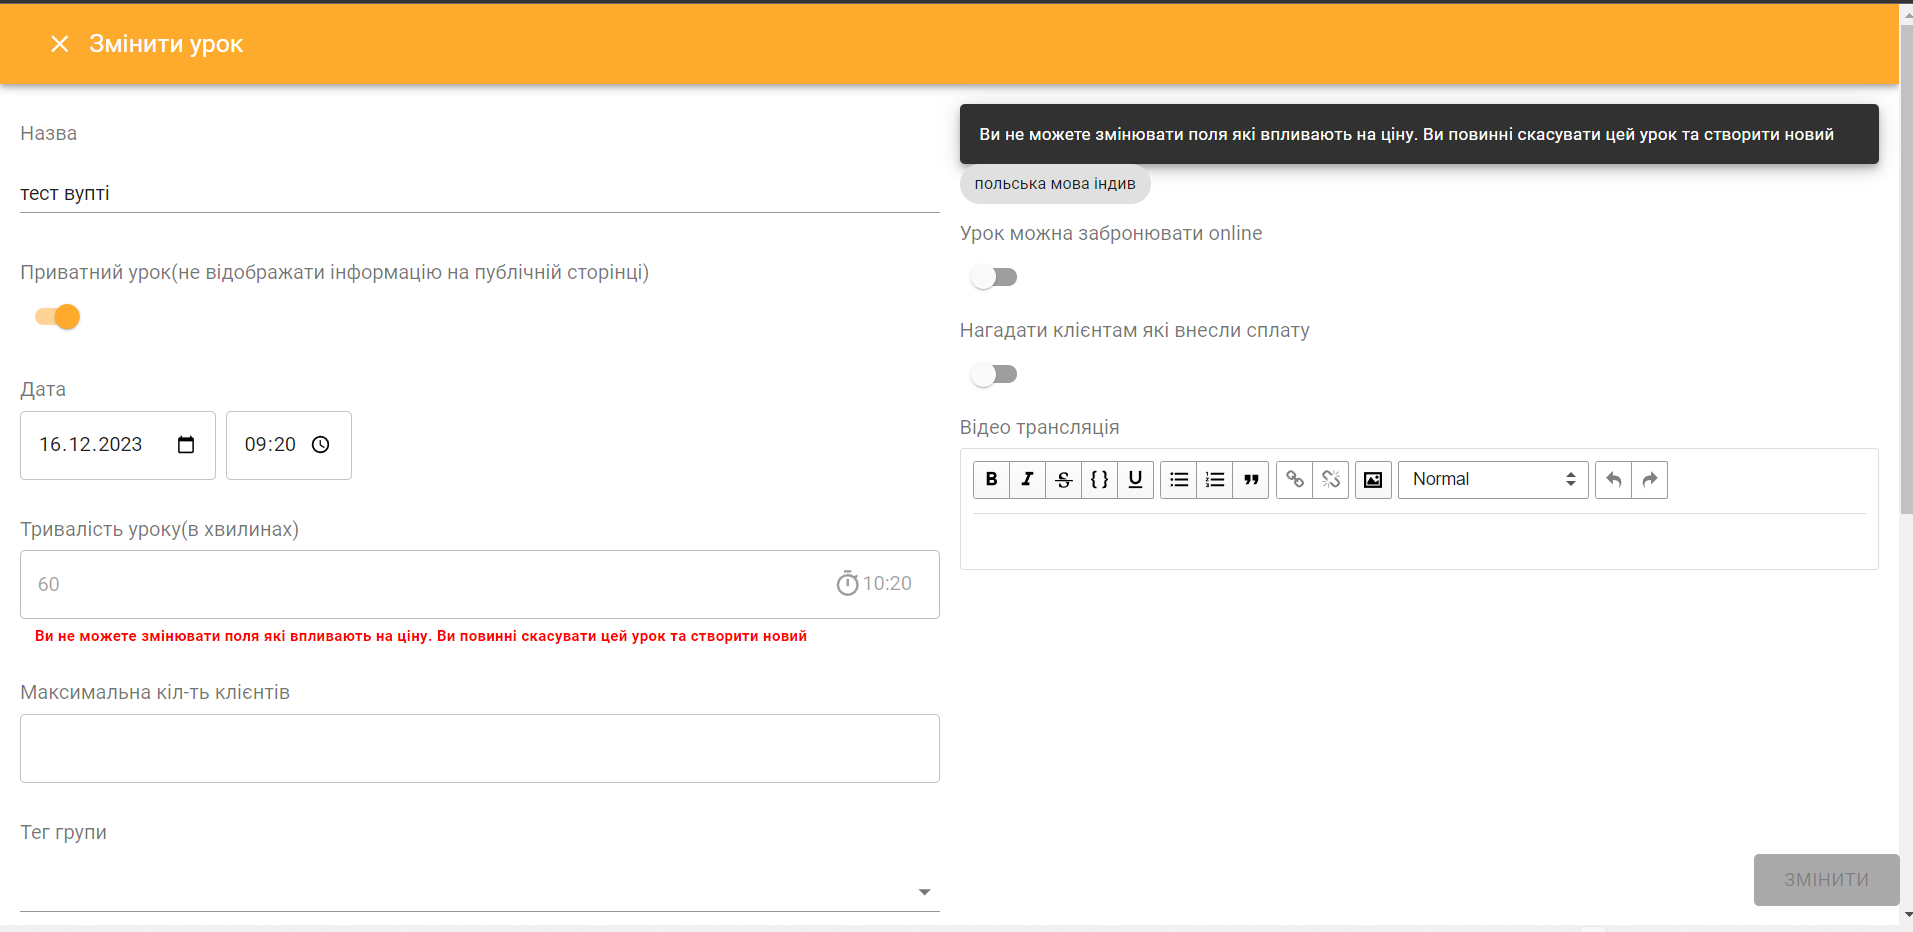
  1. Переходимо в розкладі на урок, який потрібно замінити.
  2. В інформації про урок є графа Співробітник, де вказаний постійний викладач. Натискаємо хрестик та обираємо іншого репетитора, який проведе це заняття.

Це стосується разової заміни викладача на конкретний день або необхідний період.Якщо необхідно внести такі ж зміни на постійну основу, тоді:

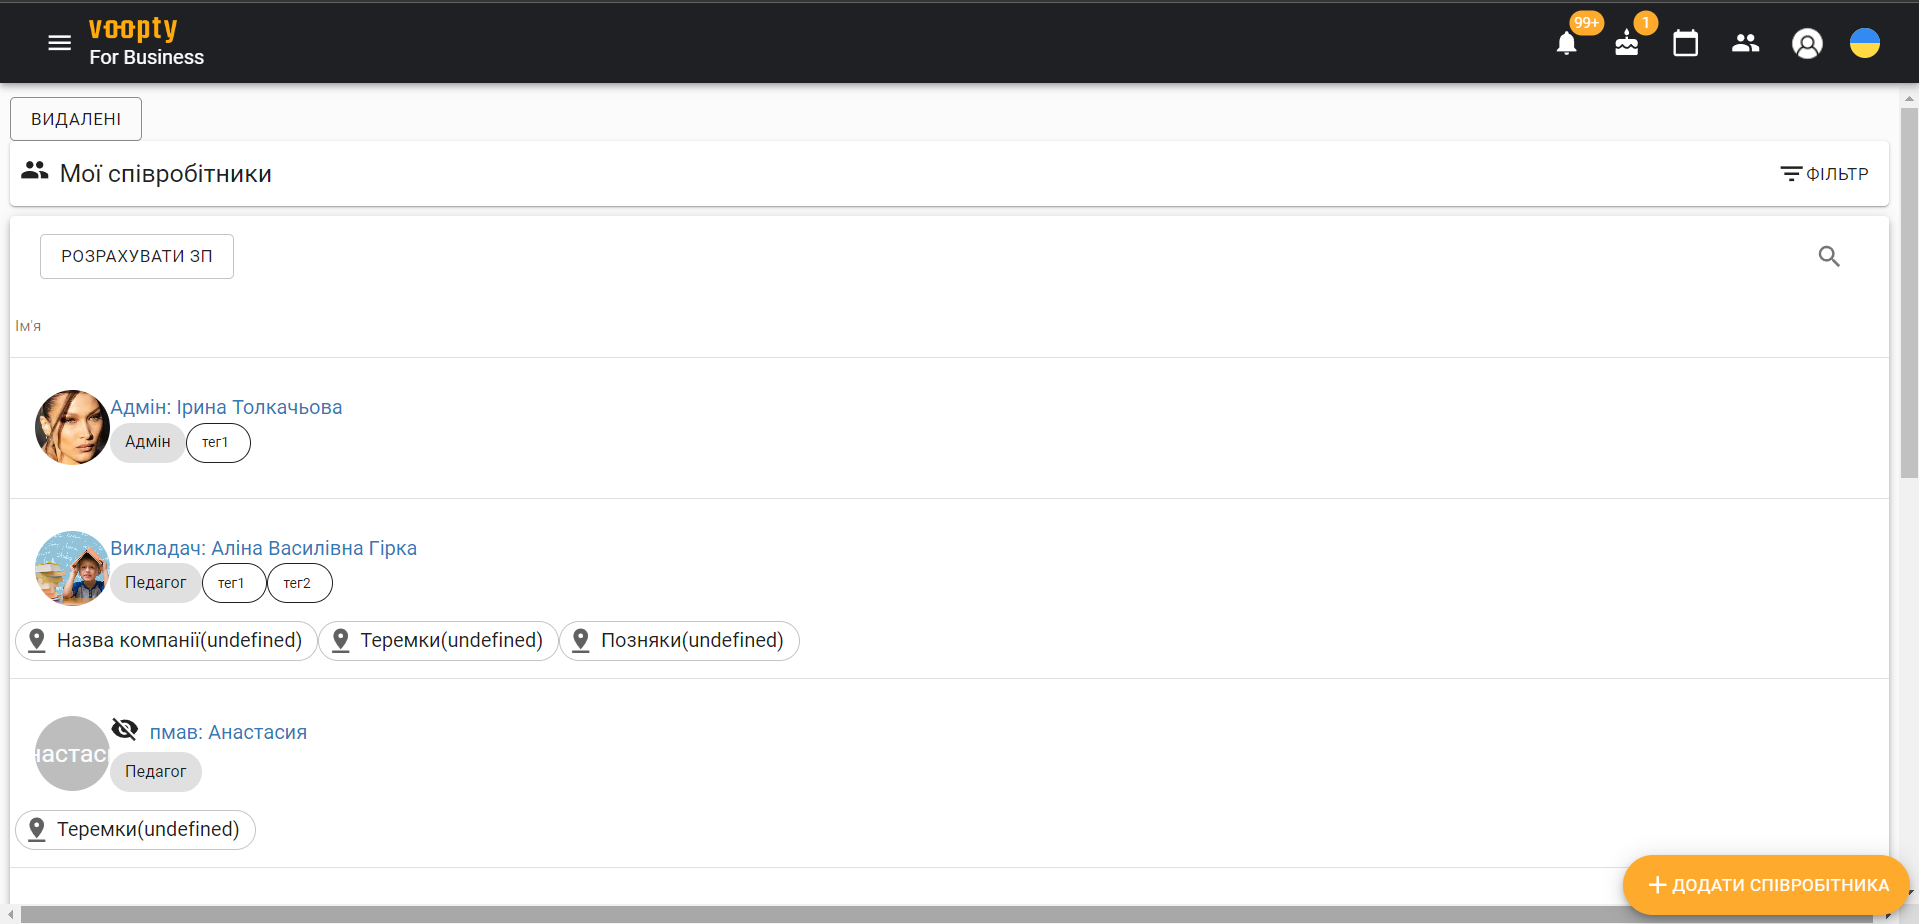
  1. Переходимо в меню зліва – обираємо розділ Мої клієнти.
  2. Обираємо необхідного клієнта, якому потрібно поставити заміну на постійну основу.
  3. В особистому кабінеті учня видаляємо уроки з попереднім викладачем
  4. Обираємо пункт Додати постійний урок.
  5. Вказуємо викладача, який тепер буде викладати на постійній основі, ставимо розклад і зберігаємо.

Таким чином можна внести зміни в розкладі клієнтів, які займаються індивідуально. Щоб внести зміни в розклад групових або парних занять на постійній основі:

  1. Переходимо в розділ Курси та групи в меню зліва.
  2. Обираємо групу, куди потрібно внести зміни.
  3. На сторінці групи натискаємо на діючого співробітника і ставимо заміну на постійну основу – вказуємо іншого фахівця.
  4. Надалі необхідно створити новий розклад (для цього видаляємо попередній і створюємо уже новий постійний розклад).
  5. Зберігаємо курс з урахуванням усіх коректив.

Voopty crm system: note on teachers

First of all, let’s talk about how to add a new teacher to the Voopty crm system. 

  1. Go to settings – Select the section My employees – in the bottom right corner select the Add employee button.
  2. Fill in the necessary information about the teacher: full name, avatar (optional), position, phone number, email, role (educator, admin or owner). Usually you can specify educator, but you can expand or narrow the list of teacher’s roles as you wish.
  3. Add optional options Show clients’ contacts, See other teachers’ lessons, Create clients’ tags, Create clients or View only (then teacher can only see his/her schedule).
  4. Specify cash desk, if teacher can accept payment, then provide access to cash desk – cashless payment or cash.
  5. Specify the type of lesson the teacher is teaching, for example, individual English lessons. This type can be changed during the scheduling of lessons. 

You can also choose a default room. This is useful if your school has several classrooms, so it is possible to specify a specific one where the teacher works. 

Further update the information and the system automatically creates a map of the employee. Once the map is created – you need to copy his/her full name and move to the Courses and groups section.

If the teacher teaches individual classes, create a page for him/her in the Courses and Groups section. 

  1. Click in the lower right corner. 
  2. Enter all the information about the employee (you can copy it from the employee card you have created before).
  3.  In the Employee column specify the specific instructor to whom we are linking the course.
  4. Save the course.

Now your employee is in the system. 

How to edit filters by teachers

  1. Go to the Attendance Log, click on the filter.
  2. At the bottom we see the Teachers filter. You can use it to view the classes of a particular teacher for a required period of time.
  3. To select a time period, click on Week, Month or Day in the list of filters.
  4. There is a possibility to view classes of several teachers in parallel, for this purpose you should check the checkbox next to several employees and they will be displayed in the schedule at once.

How to integrate Voopty sms with a website

Today we’ll talk about how to integrate registration for your events with the Voopty CRM system. 

Enrollment in a course

After the user fills out the registration form on your website, you need to send their data. To do this, you should make a POST request to our API.

POST https://api.voopty.com/api/registrations/course/${branchId}/${courseId}

branchId – branch id in Voopty CRM

courseId – course id in Voopty CRM

The request must contain two elements in the header

ownerId

token

These keys can be obtained in the organization console

courseId – you can get it on the course page in Voopty CRM

What the request body looks like:

{

  { “clientInfo”: {

    “clientName”: “$clientName”,

    “clientEmail”: “$clientEmail”,

    “phone”: “$clientPhone”,

    “clientNote”: “$clientNote”

  },

  “courseUrl”: “$url”

}

*clientName – client’s name (required field) *phone – phone (required field), format +380********* clientEmail – client’s email clientNote – note from the client courseUrl – course url on your website

How do I integrate requests with my sales funnel?

If you don’t have the ability to link requests to a course, you can send a request to add a lead to your sales funnel.

POST https://api.voopty.com/api/registrations/${ownerId}/add-to-funnel

The request should contain two elements in the header

ownerId

token

You can get these keys in the organization console

{

  “clientInfo”: {

    “clientName”: “<ClientName>”

    “clientEmail”: “<Client Email>”,

    “phone”: “<Client Phone>”

  },

  “url”: “$url”,

  “productName”: “<Product Name>”,

  “funnelId”: “<FunnelId>”

}

url – optional field, the address of the page from which the record was made

productName – an optional field, the name of the lesson/course/service for which the entry was made

funnelId – optional field, id – the funnel to which the lead will go (if not specified, the lead will go to the default funnel)