Voopty crm system: note on teachers
Back
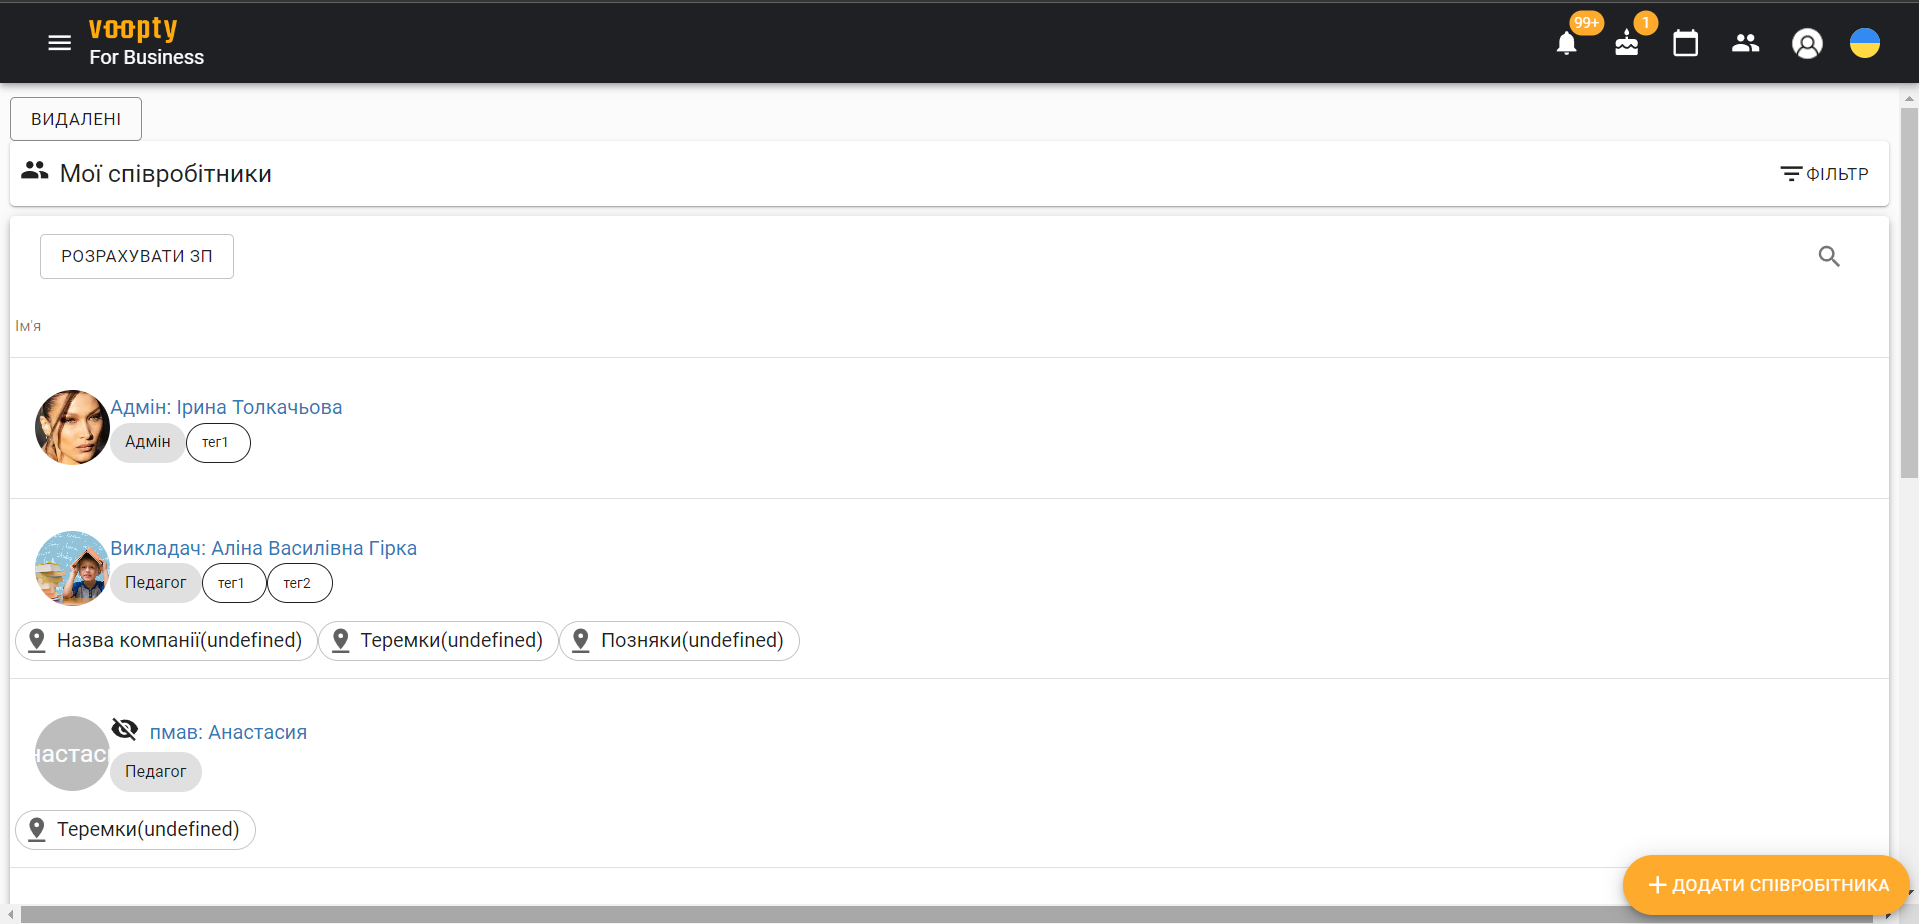
First of all, let’s talk about how to add a new teacher to the Voopty crm system.
- Go to settings – Select the section My employees – in the bottom right corner select the Add employee button.
- Fill in the necessary information about the teacher: full name, avatar (optional), position, phone number, email, role (educator, admin or owner). Usually you can specify educator, but you can expand or narrow the list of teacher’s roles as you wish.
- Add optional options Show clients’ contacts, See other teachers’ lessons, Create clients’ tags, Create clients or View only (then teacher can only see his/her schedule).
- Specify cash desk, if teacher can accept payment, then provide access to cash desk – cashless payment or cash.
- Specify the type of lesson the teacher is teaching, for example, individual English lessons. This type can be changed during the scheduling of lessons.
You can also choose a default room. This is useful if your school has several classrooms, so it is possible to specify a specific one where the teacher works.
Further update the information and the system automatically creates a map of the employee. Once the map is created – you need to copy his/her full name and move to the Courses and groups section.
If the teacher teaches individual classes, create a page for him/her in the Courses and Groups section.
- Click in the lower right corner.
- Enter all the information about the employee (you can copy it from the employee card you have created before).
- In the Employee column specify the specific instructor to whom we are linking the course.
- Save the course.
Now your employee is in the system.
How to edit filters by teachers
- Go to the Attendance Log, click on the filter.
- At the bottom we see the Teachers filter. You can use it to view the classes of a particular teacher for a required period of time.
- To select a time period, click on Week, Month or Day in the list of filters.
- There is a possibility to view classes of several teachers in parallel, for this purpose you should check the checkbox next to several employees and they will be displayed in the schedule at once.