Get a system setup as a gift, paying for year in advance. The promotion is valid until 2024/09/30 🎁

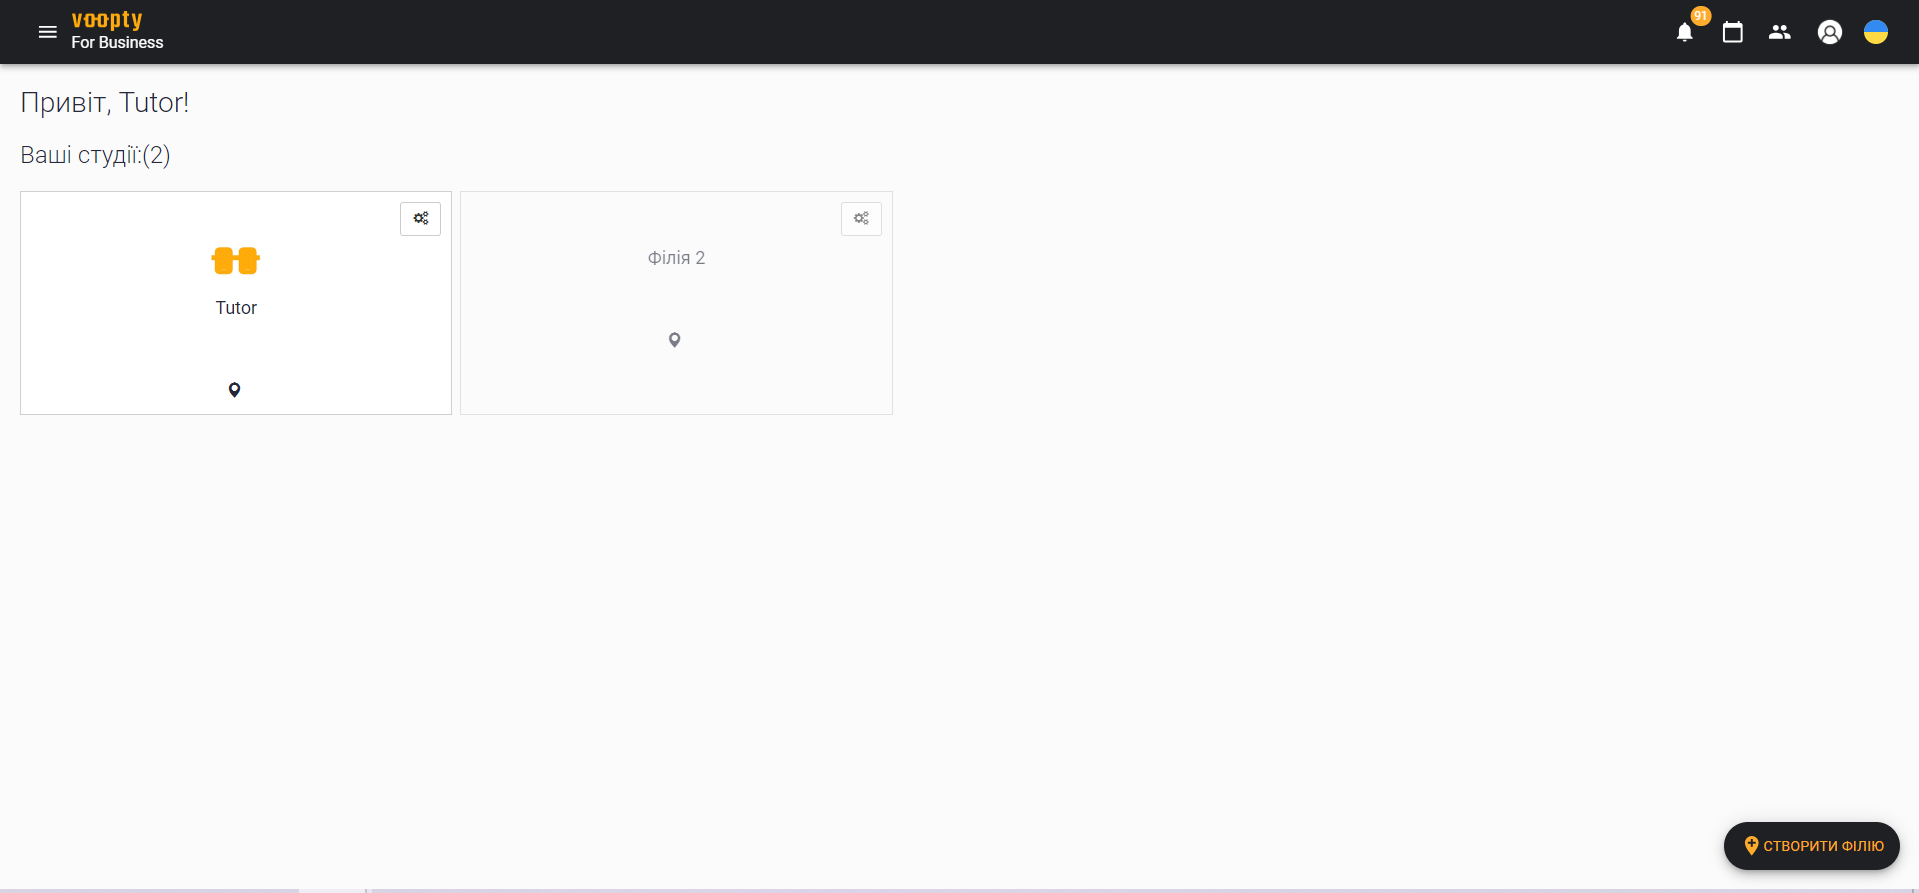
Voopty CRM: how to create a branch

Today we will talk about creating a branch. To do this, there is a separate section in the Vooprt CRM system called “My branches” (you can go to it by clicking on the “hamburger” in the upper left corner). By default, one branch will already be created, but you can create another one additionally. How to do it?

  1. Click on the “Create a branch” button in the lower right corner. Then give it a name and add an address if it is a physical studio. It is not necessary to specify the address – then uncheck the box and click “Create studio”.
  2. Next, add all the necessary information about the studio: name, background, logo, choose a category and fill in all the fields about the workers, etc.
  3. All this information is saved automatically, so you don’t need to save and update the studio.
  4. You can delete a studio for convenience by clicking on the button at the bottom of the page.

After creating another branch, you can publish it. To do this, click the “Branch not published” button. It is possible not to do this by simply adjusting the slider.

Also, such a button may not be on the page, then you need to write to the crm manager Vupta, we will set everything up right away.

After setting all the relevant parameters, you can save the studio.

How to view all available branches:

  1. Click on the “My branches” section
  2. On the page, we see all the available studios at once
  3. Some studios may be highlighted to a greater extent because they are published. If a studio is not published, it is highlighted in a dull gray color.
  4. To edit a branch, click on the gear on the top right of the branch button, select the “Public Information” option and edit the necessary information – all published data can be changed as desired
  5. If you do not need a branch, click “Delete studio”.

For each branch, you can keep a personal schedule, add employees and clients. Employees and customers can be present at two branches, but the schedules are always separate.

Voopty CRM: how to work with finances

In the Voopty CRM, you can view statistics on clients, as well as the financial component. Again, one of the most noticeable advantages of the CRM system is the electronic journal, where everything is stored in one place. So, how to work with the statistics column and view financial transactions in the system.

Where to find it?

  1. Go to the “hamburger” in the upper left window – click on the “Financial Analytics” section
  2. Configure the parameters for which you want to see the reports: calendar period, cash or non-cash account. The number of parameters can be changed depending on the specifics of your business
  3. Select the necessary filter: for example, a one-time visit or season tickets. You can also adjust the number of filters.
  4. Review the displayed data: income, expenses, difference.

How do I view payments and expenses?

  1. Go to the “Payment report” section, i.e. payments that were credited from customers
  2. Configure the parameters for viewing: number of transactions, date, cash or non-cash account, etc.
  3. For a broader analysis, go to the “Center expenses” section.
  4. Enter the necessary data: salaries for teachers, rental costs, utility bills, marketing, etc. Then the system will automatically calculate your expenses.

You can also view statistics in the Voopty system.

  1. To do this, click on the “Statistics” section.
  2. Select the parameters: time period (several months or even several years), select a tag, employee, or a specific type of lesson if necessary.
  3. Click refresh and view the statistics.

Statistics analysis is possible by the following parameters: teacher activity, visits (canceled and actual), new clients, deleted clients. It is possible to customize the parameter “Visits by lesson type”, “Payment types”, “Visits by client tag”, “Number of clients who attended 1 or more lessons”.

Statistics in the CRM system will help you optimize sales performance and guide decision-making to build a profitable business strategy.

Voopty CRM has general statistics so that you can analyze your performance based on the history of your transactions.

That is, your report contains:

  • the number of created/deleted deals for a certain period of time;
  • total cost of deals;
  • productivity of each member of your team (tutor or employee);
  • financial statement for the period of time.

Working with Voopty crm: how to add an employee and set up publicity

Today we will talk about how to add employees to the system. In Voopty, you can set up all the necessary information and not keep paper records in parallel. So, let’s add an employee in just a few steps.

Step 1. Go to the “hamburger” on the top left – select the “My employees” column – click “Add employee” on the bottom right.

Step 2. Enter all the necessary information about the employee: add a full name, avatar, position, position description (for example, manager of a particular branch), phone number, email

Step 3. Assign a role to the employee. There are different roles on the page: owner, admin, teacher. They differ in the ability to access data. A teacher, for example, has access only to his or her personal account and schedule. The owner can assign different roles to employees and restrict their access to specific information. For example, the admin role can be expanded (click the slider from right to left).

Step 4. Set up the cash register that the employee works with – cash or non-cash (you can choose both).

Step 5. Configure the option to change payment information. That is, if the administrator works with accepting payments, then he or she will be able to change the necessary data when entering it into the system.

Step 6. Click “Update information” in the lower right corner. The employee is added to the system!

Later, you can edit any information about your employee, change personal data and all accesses. There are several sections on the page for this purpose: “Information”, “Activity”, “Absence”, “Messages”, “Salary and expenses”.

It is possible to grant the manager access to their own account, then you need to click the “Invite employee” button and send the link displayed. Using this link, the employee logs in to the system, enters a password, and the system automatically registers the account.

How to set up a teacher’s publicity:

  1. Log in to the system, section “My employees”
  2. Select a specific teacher whose information you want to edit
  3. Go to the “Information” section and turn off the “Hidden (do not show on the studio page)” button
  4. Update information about the employee
  5. Now, when accessing the public page of your school, any client will be shown information about the teacher and the opportunity to book a lesson with him or her.