Working with Voopty crm: how to add an employee and set up publicity
Today we will talk about how to add employees to the system. In Voopty, you can set up all the necessary information and not keep paper records in parallel. So, let’s add an employee in just a few steps.
Step 1. Go to the “hamburger” on the top left – select the “My employees” column – click “Add employee” on the bottom right.
Step 2. Enter all the necessary information about the employee: add a full name, avatar, position, position description (for example, manager of a particular branch), phone number, email
Step 3. Assign a role to the employee. There are different roles on the page: owner, admin, teacher. They differ in the ability to access data. A teacher, for example, has access only to his or her personal account and schedule. The owner can assign different roles to employees and restrict their access to specific information. For example, the admin role can be expanded (click the slider from right to left).
Step 4. Set up the cash register that the employee works with – cash or non-cash (you can choose both).
Step 5. Configure the option to change payment information. That is, if the administrator works with accepting payments, then he or she will be able to change the necessary data when entering it into the system.
Step 6. Click “Update information” in the lower right corner. The employee is added to the system!
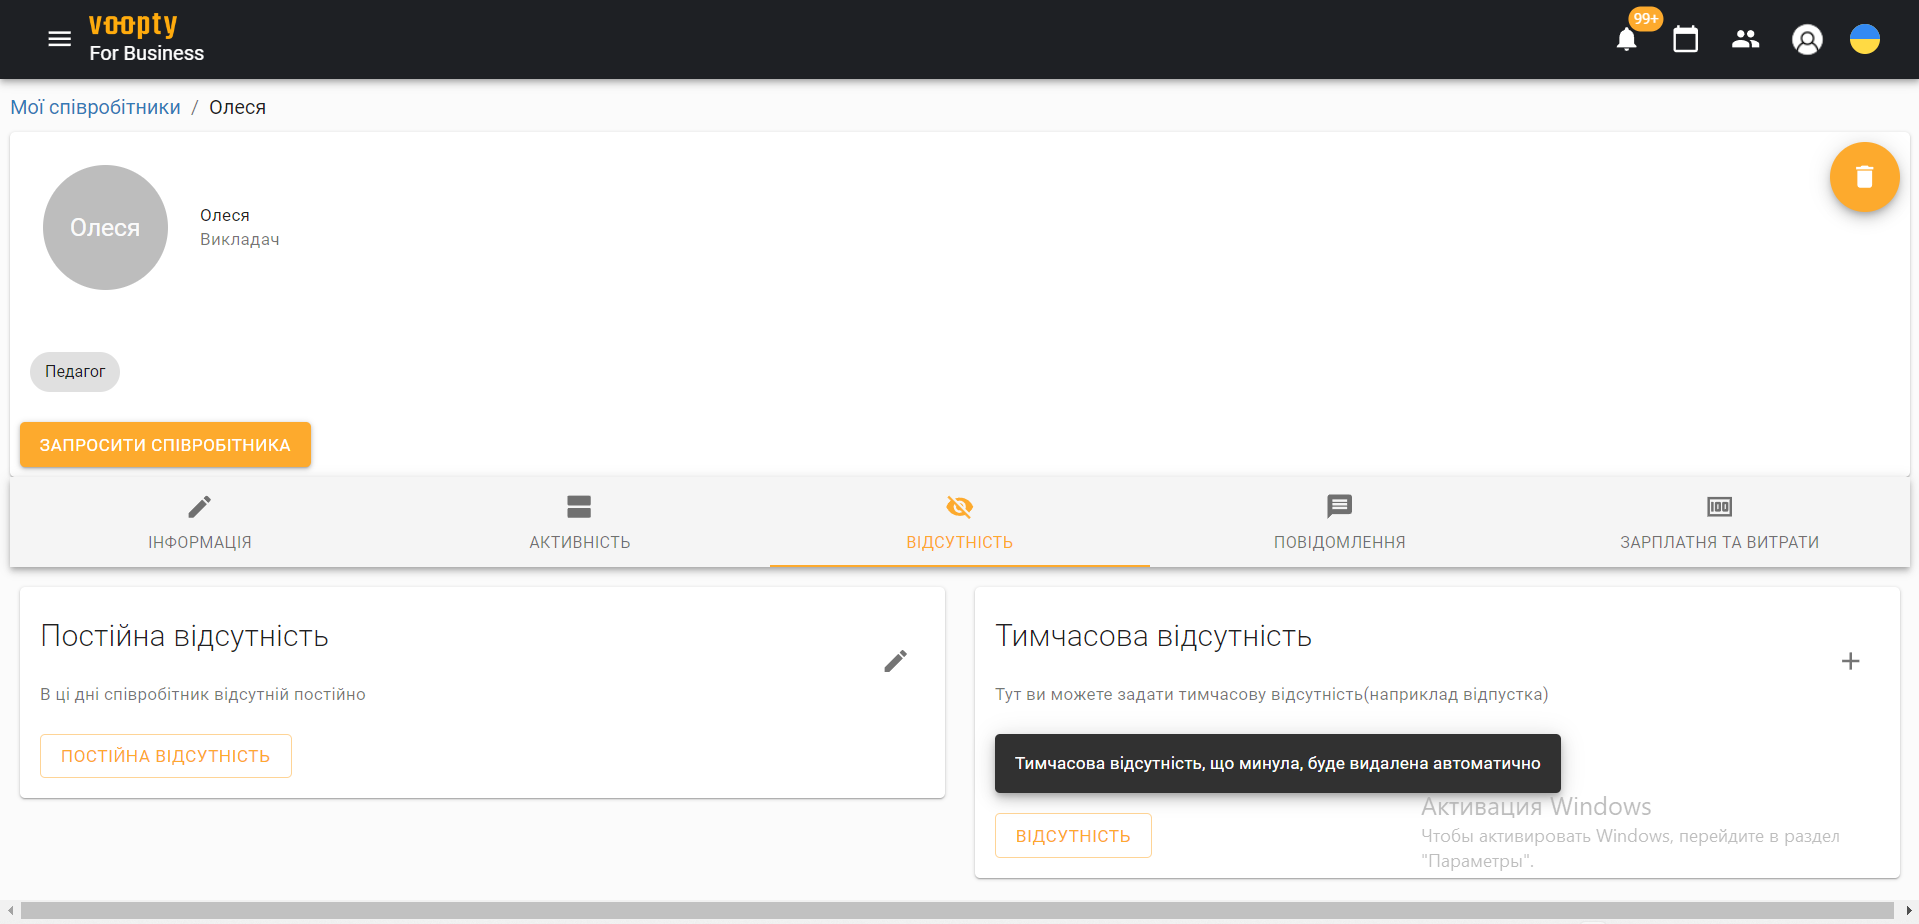
Later, you can edit any information about your employee, change personal data and all accesses. There are several sections on the page for this purpose: “Information”, “Activity”, “Absence”, “Messages”, “Salary and expenses”.
It is possible to grant the manager access to their own account, then you need to click the “Invite employee” button and send the link displayed. Using this link, the employee logs in to the system, enters a password, and the system automatically registers the account.
How to set up a teacher’s publicity:
- Log in to the system, section “My employees”
- Select a specific teacher whose information you want to edit
- Go to the “Information” section and turn off the “Hidden (do not show on the studio page)” button
- Update information about the employee
- Now, when accessing the public page of your school, any client will be shown information about the teacher and the opportunity to book a lesson with him or her.

