Get a system setup as a gift, paying for 3 monthes in advance. The promotion is valid until 2024/12/31 🎁

Voopty CRM system: how to mark absence

If an employee takes a short vacation, sick leave, or just a break, it is possible to mark this period in the system. The same function applies to a client who, for example, wants to take a break for a few days, a week, etc. Now we will tell you how to do it.

Absence of an employee (teacher)

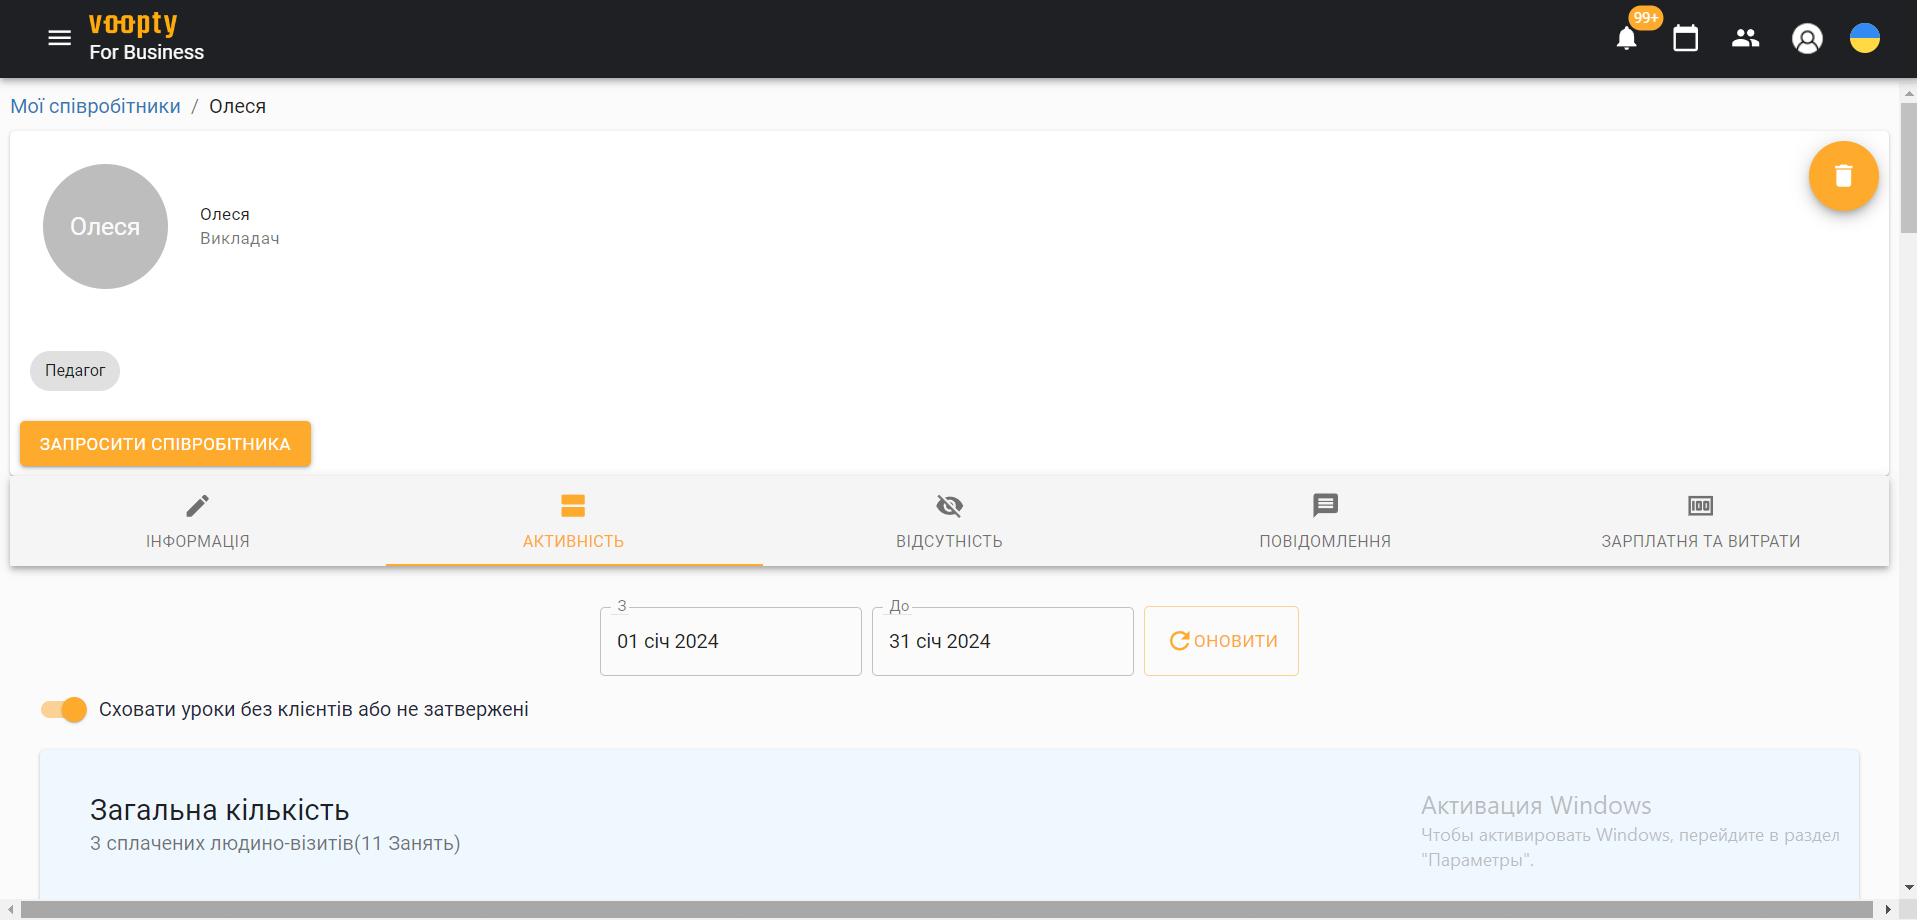
  1. Go to the My employees section and select the required employee
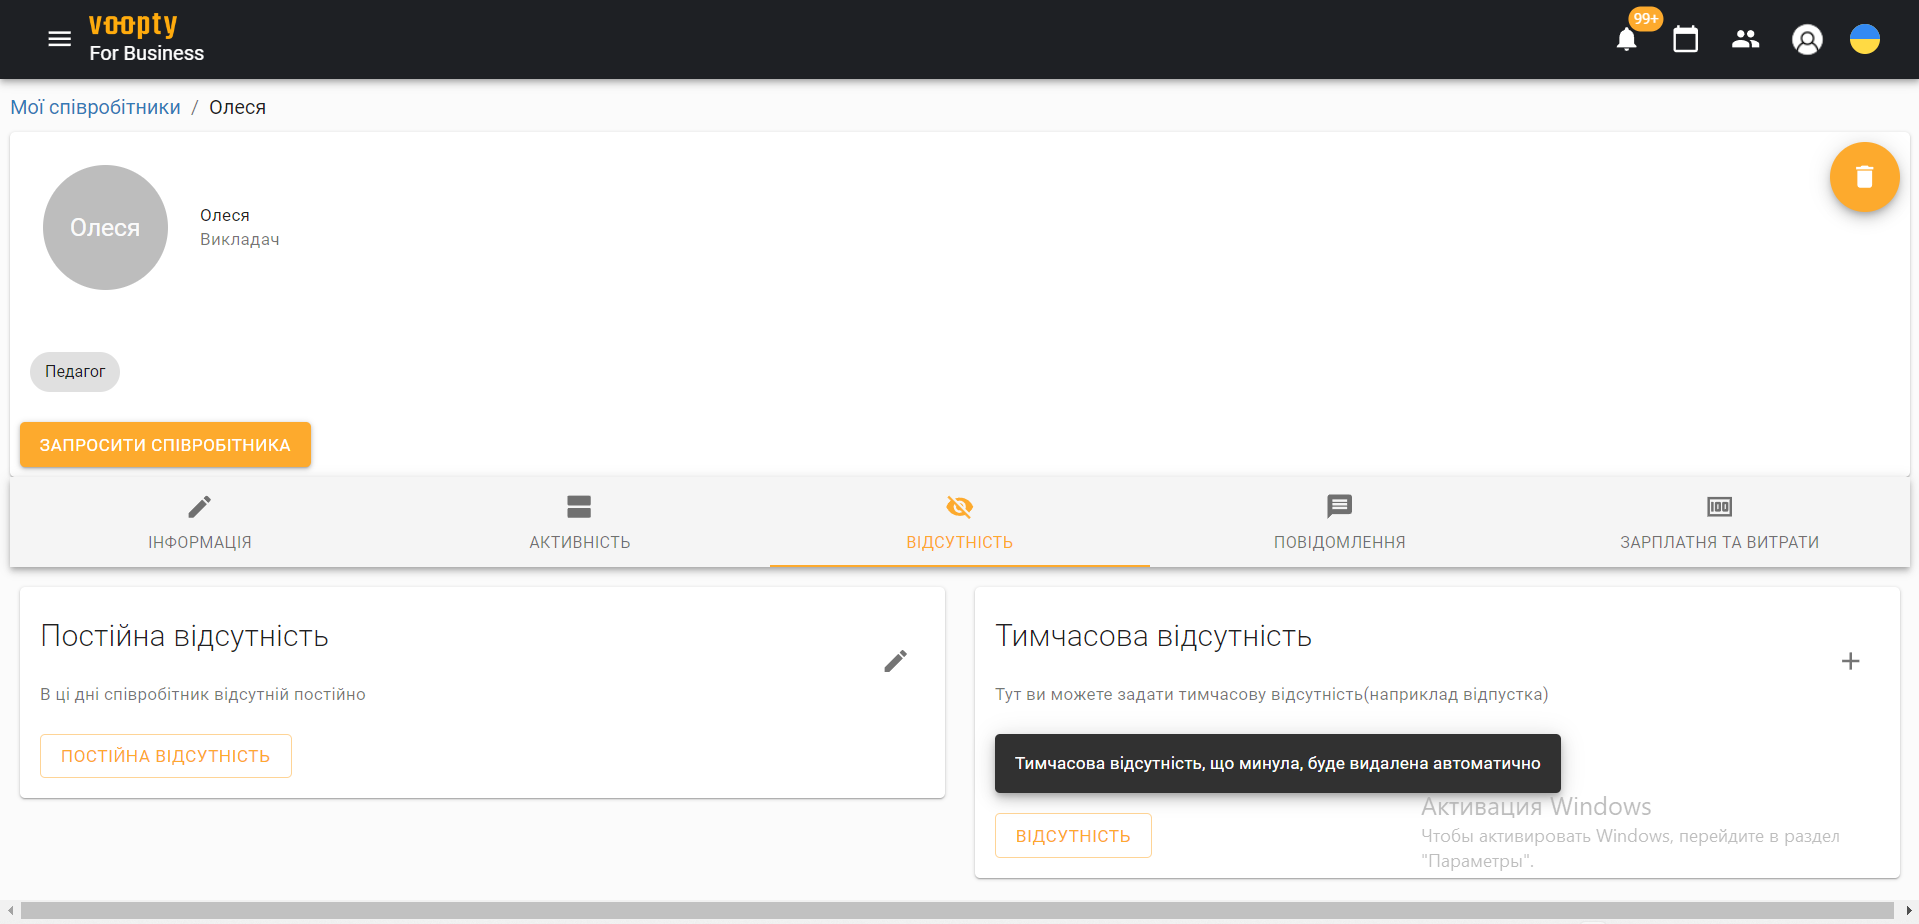
  2. Specify the Absence section – 2 possible options Temporary absence (for a certain period) or Permanent absence (means that on specific days and hours the teacher cannot conduct classes on a regular basis). Choose the option you need
  3. In the Permanent absence column, click on the editing pencil and select specific days and hours. Update the employee’s information
  4. To specify a temporary absence, click the button on the right Absence and specify the time period.

Each employee can edit their own absence in their account, and you, as the owner, can edit the absence information for all employees.

To check for updates, go to the schedule, set the filter for a specific teacher, and the journal will display a slash through the time periods when the employee is absent (i.e. when classes cannot be scheduled). 

It is possible to remove an absence in the same section, just click the Delete button.

Client absence

This function is necessary if the client takes a short break for vacations, weekends, or just for a long time. How to put a lesson on freeze:

  1. Go to the My clients section – select the required client
  2. Click on the three dots at the top right – select the Freeze option
  3. In the future, you need to specify specific dates when the client will be absent – click save
  4. Now the client will be absent from the schedule for the specified period

To see the current or previous freezes, they are available in the client’s personal account under the schedule.
Voopty CRM: co-owner and employee access

Today we will talk, first of all, about how to add a co-owner to the system and the difference between the accesses for an employee (for example, a teacher) and a co-owner. 

So, first of all, how to add a co-owner to the system. It is worth noting that when you register in the system, you are automatically granted the rights of the owner. That is, you have access to all possible functions. Later, you can create either a co-owner or other specialists from your account.

How to do it:

  1. Go to the My employees section – select the Add employee option at the bottom right
  2. Fill in all the necessary fields with personal information, then a specific role: Owner, Admin or Teacher
  3. To add a co-owner, respectively, specify the role of Owner
  4. There is an option to give access to all cash desks, as well as an extended number of functions

Click Update information

The co-owner’s account will be automatically created. Click on the Invite employee button, copy the link and send it to your partner. Now he or she will have to log in to the system (fill in three fields) and will be able to use the same functionality as the owner.

How do I give an employee access to an account in the Voopty crm?

  1. Go to the My employees section 0 click the Add employee button
  2. Fill in all the fields with personal information, specify the role of Educator.
  3. Refresh the page.
  4. In the created account, click Invite employee, copy the link and send it to the teacher (employee). 
  5. Then the employee specifies mail, password and accepts the terms of the agreement.

That’s it, the employee is in the system.

How to assign a substitute teacher in the Voopty courseware

In the Voopty system, you can assign a one-time substitute teacher. This is necessary if the regular tutor is sick and you need to make a one-time replacement in the system. If you need a crm system for a music school or a crm system for a fitness center, then Voopty crm offers very convenient functionality in case one of the employees is sick and a one-time replacement of the employee without long paperwork. Let us tell you how to do it. 

  1. Go to the lesson you want to replace in the schedule.
  2. In the information about the lesson, there is a column Employee, where the permanent teacher is indicated. Click the cross and select another tutor to teach the lesson.

This applies to a one-time replacement of the teacher for a specific day or the required period. If you need to make the same changes on a permanent basis, then:

  1. Go to the menu on the left – select the My clients section.
  2. Select the required client for whom you want to make the change on a permanent basis.
  3. In the student’s personal account, delete lessons with the previous teacher
  4. Select Add permanent lesson.
  5. Specify the teacher who will now teach on a permanent basis, set the schedule, and save.

This way, you can make changes to the schedule of clients who are studying individually. To make changes to the schedule of group or pair classes on a regular basis:

  1. Go to the Courses and Groups section in the menu on the left.
  2. Select the group where you want to make changes.
  3. On the group page, click on the current employee and make the replacement permanent – specify another specialist.
  4. Next, you need to create a new schedule (to do this, delete the previous one and create a new permanent schedule).
  5. We keep the course with all the adjustments.