Welcome to the Voopty blog
The latest solutions, tips, regular updates, and relevant news.
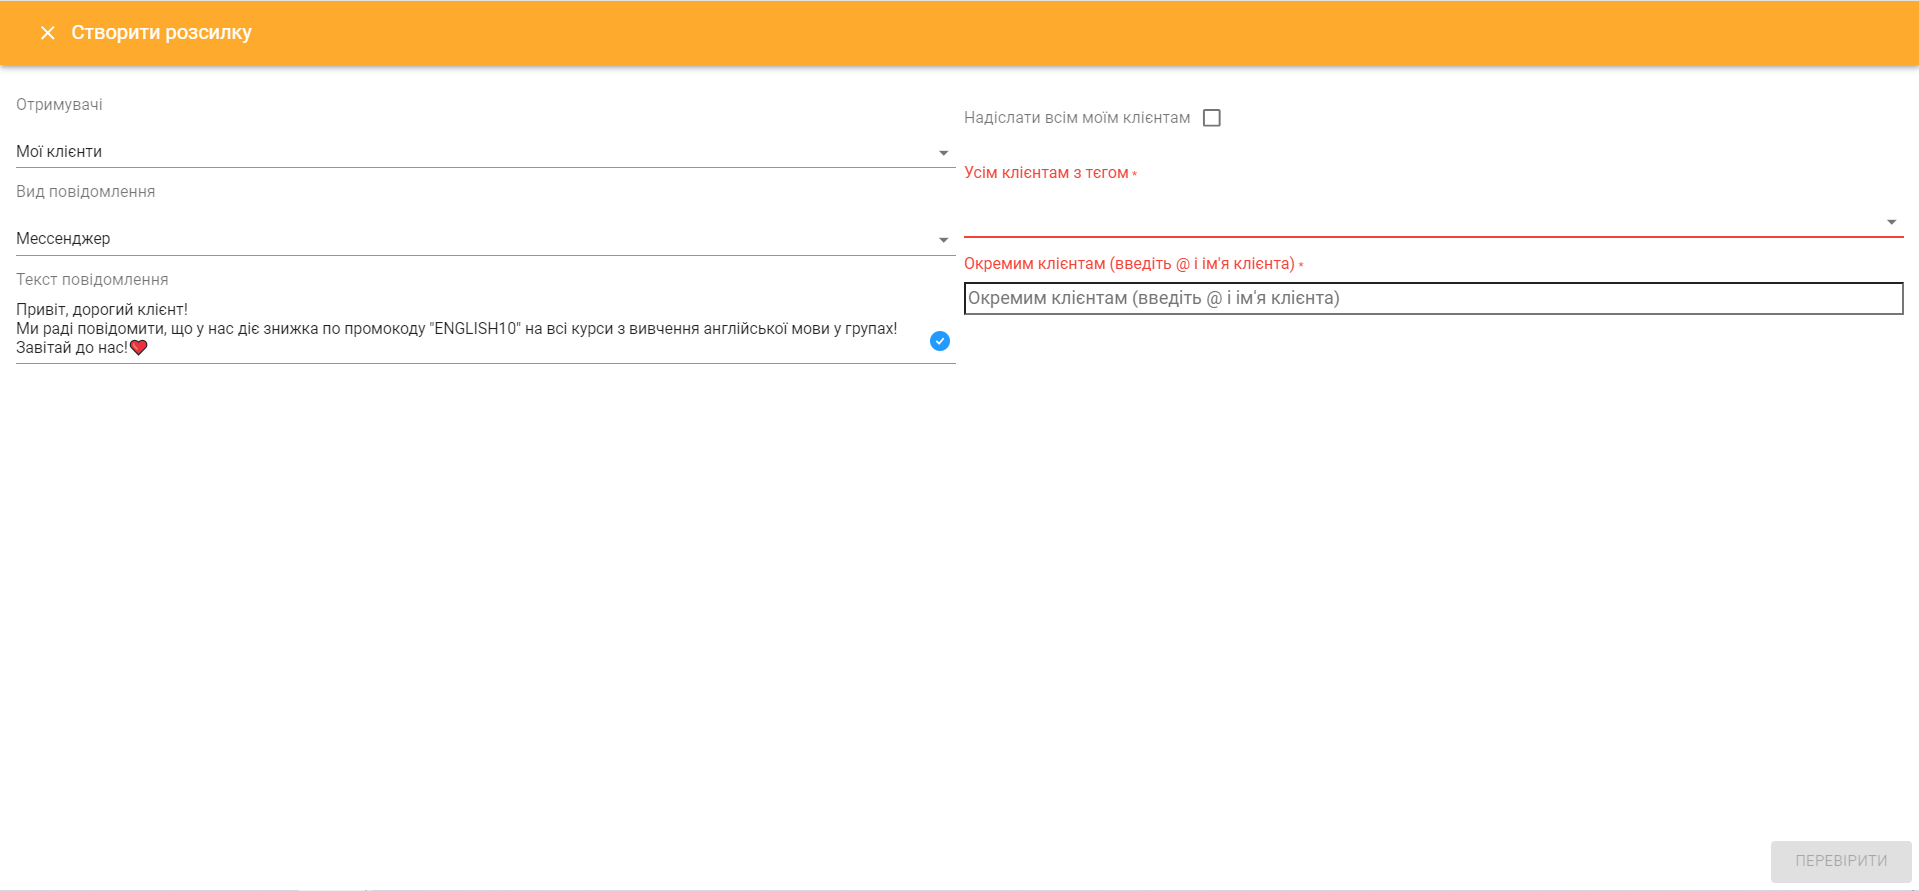
How to set up newsletters in the Voopty CRM system
Today we will discuss the section in the Voopty email marketing system called “Campaigns”. It consists of two subsections: Campaigns and Reminders. You can send newsletters to your customers or to leads, you can send...
Learn more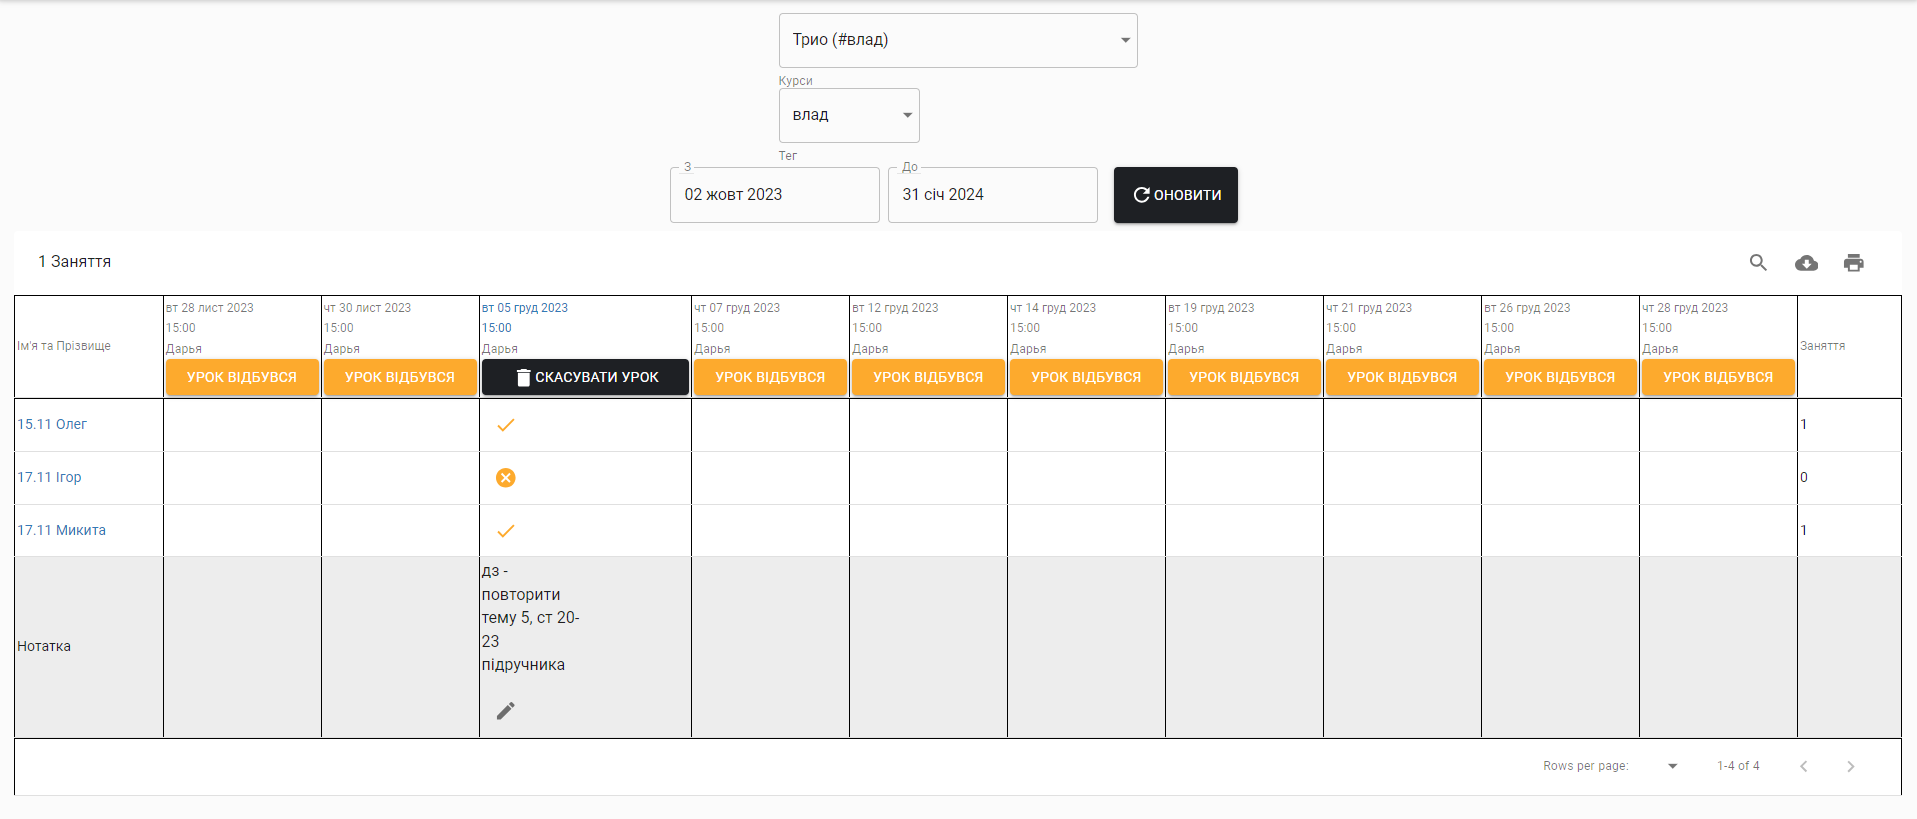
Groups and pair classes in Voopty Portal
Groups and pair classes in Voopty Portal Today we are going to show you how to create group and pair classes. Let’s imagine that you have a group with several people or a pair lesson. ...
Learn more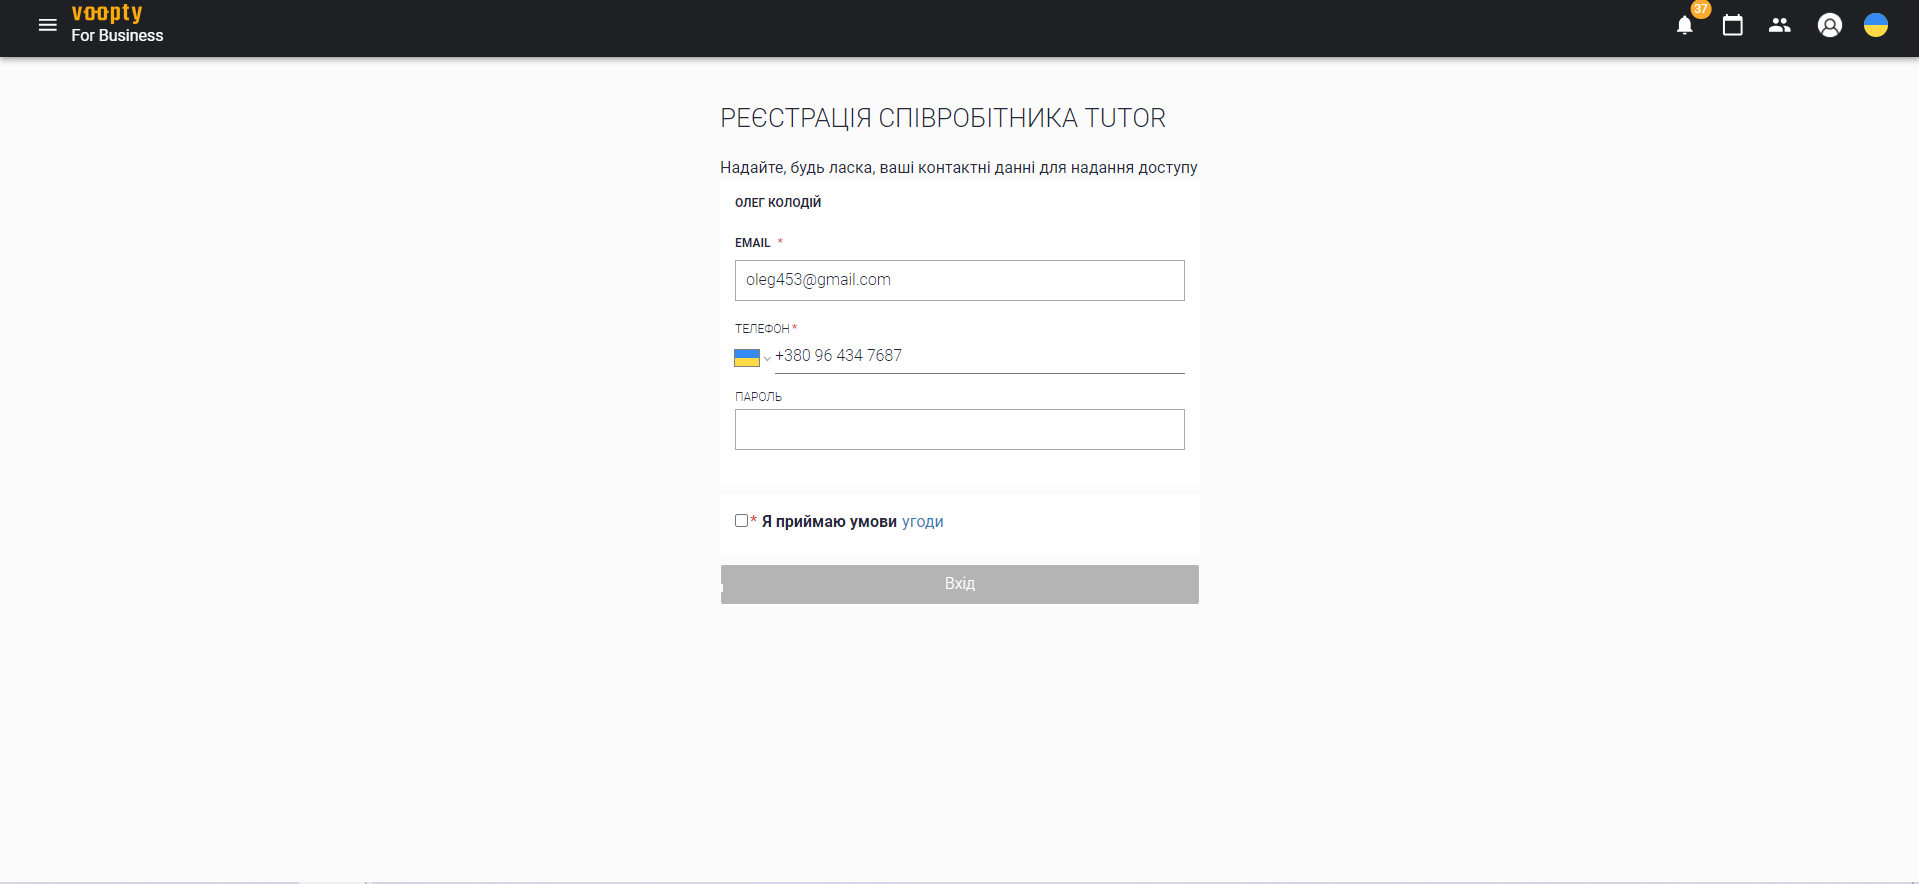
Voopty – a cheat sheet for tutors
Firstly, you need to get an invitation link from the administrator or owner of the studio. Follow this link and go through the standard registration procedure. After that, you can log in to your account...
Learn more