Voopty SRM system: how to work with the schedule
Back
Today we’re going to talk about how to set up a schedule in the Voopty CRM system, add and cancel classes, or add one-time visits to the system.
- How to add a trial lesson or a one-time visit:
- Go to the schedule (there is a schedule button on the top panel) and select the necessary field to set the lesson (the schedule shows whether there are other classes at this time and whether the one-time visit intersects with other lessons of the teacher)
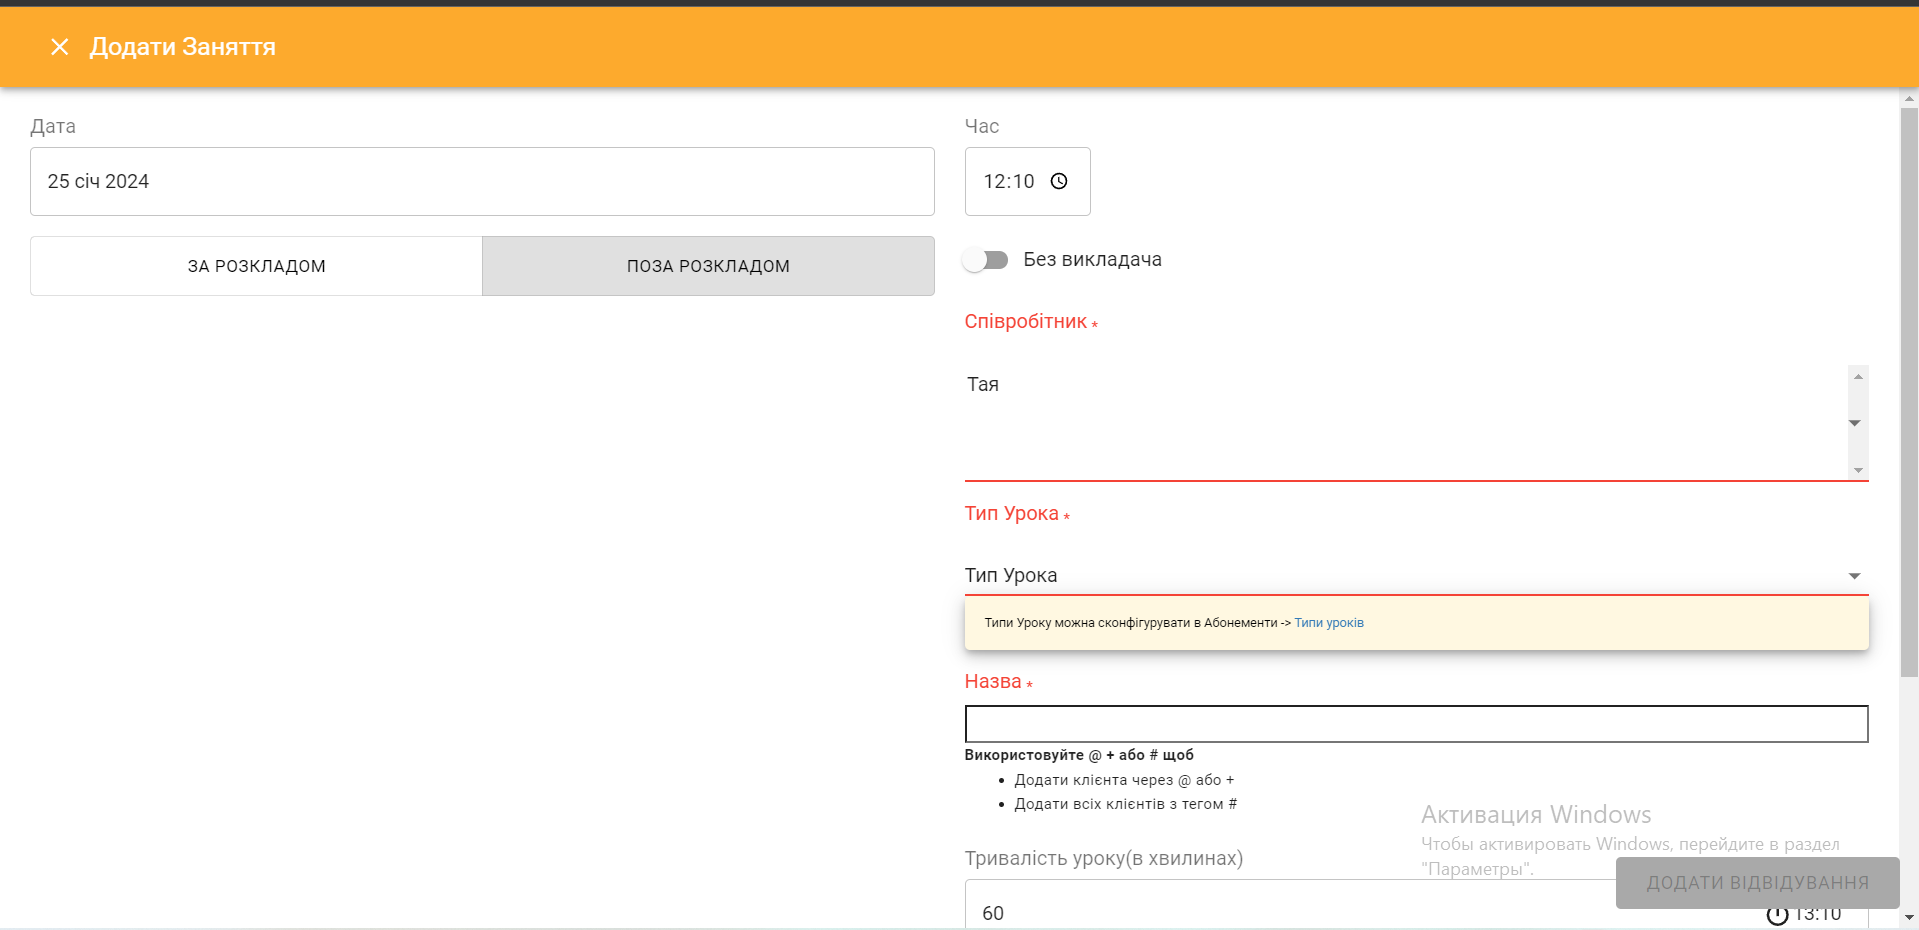
- Choose the date and time in the settings, select a specific teacher (or two teachers if necessary). Next, select the Lesson type (it depends on the types of lessons you set up earlier in the system, for example, trial lesson or individual English) and the student who will be studying at this time
- Change the duration of the lesson if necessary. The duration of the lesson should be set based on the type of lesson you have set up. But if there are some changes, you can also change the duration manually
- Click the Add attendance button
- Now this lesson has appeared in the schedule
2. How to mark a lesson as held
- Go to the schedule, find the required lesson and click on it
- Next, click on the button Lesson was held
- A window with information about the lesson will appear, where you can leave notes about the lesson
- If the lesson is a group mechanics lesson, it is the same, but the teacher has the opportunity to mark which students were present and which were not. You can also choose whether to penalize an absent student. If you do not penalize, the lesson will not be deducted from the subscription
- To understand whether the lesson is marked, you should pay attention to the colors – the marked lesson has a deep black inscription, while the unmarked lesson does not.
3. How to cancel a class
- Go to the schedule, find the required class and click on it
- Next, click on the Cancel class button. It will be crossed out in the schedule
- Later, you can go to the information about the lesson (pencil on the left) and specify the reason for cancellation
After canceling, refresh the page and the crossed-out lessons will disappear. To see canceled classes, you should check the Canceled classes filter, and they will all be displayed automatically in the schedule on the page.