How to create branches?
BackBy default, you have one created branch after registering in the system.
If you need to create more branches:
1. Go to the “My branches” section.

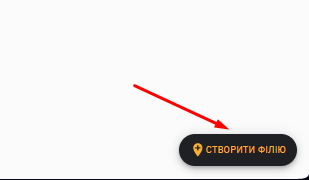
2. Select “Create a branch” at the bottom right,
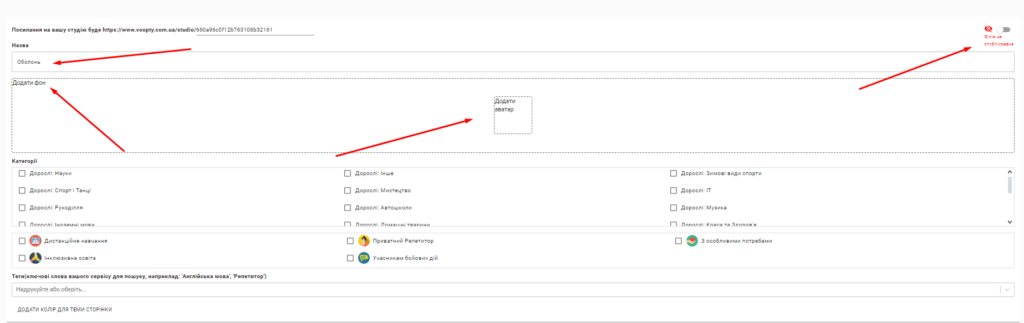
3. Next, fill in such fields as “Name” and, if available, “Address”. If there is no address, uncheck the box next to “With address”.

4. Next, fill in all the fields we need. You can give it a name, address, add a background (optional), and you can also edit access: public or not (optional).
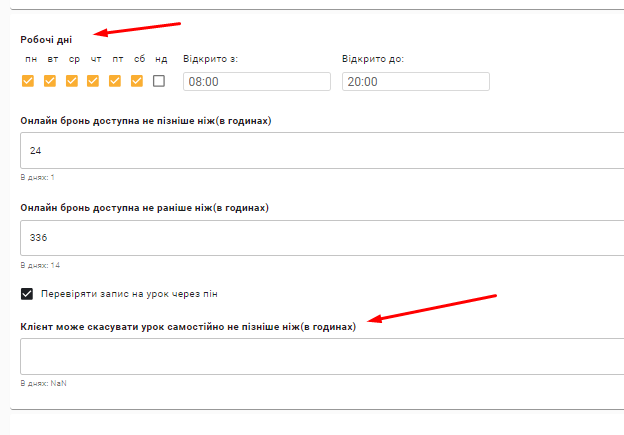
It is also important to specify the working days and hours of the branch at the very bottom, because the schedule is based on this (i.e., the days and hours you select here will be displayed in the “attendance log”, i.e., the school schedule).
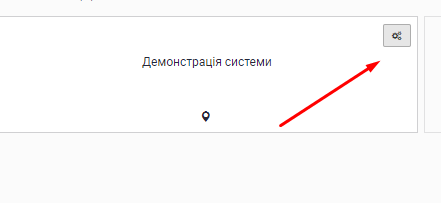
If you want to make adjustments to your branch, then in the “My branches” section, you need to click on the gear and then select “Public information”.
Video tutorial: