How do I add a teacher to the system?
Back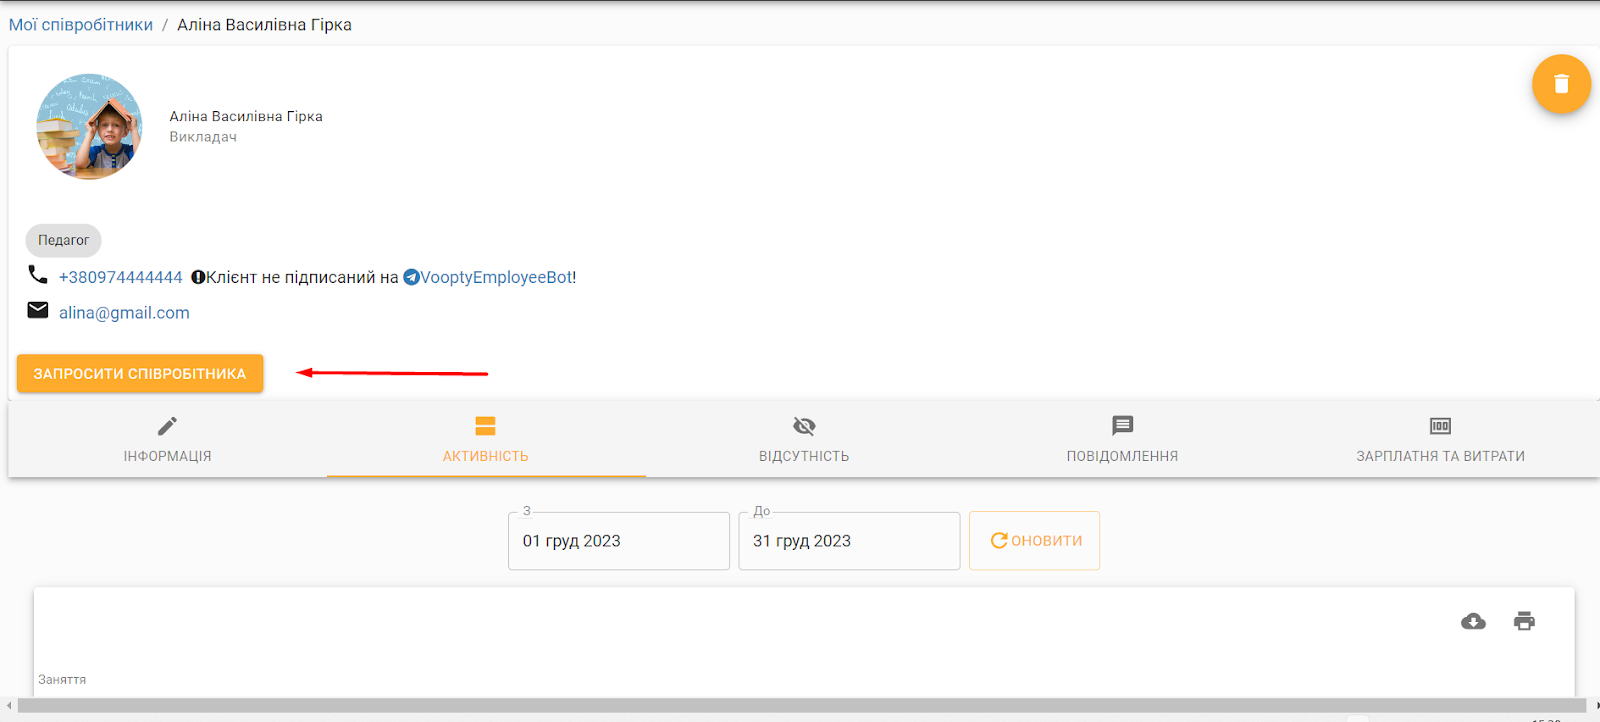
How to give access and create a teacher (educator):
1. Go to the section “My employees”.
2. Next, click on the bottom right “Add employee”.
3. Fields for filling in the data appear. The required fields are:
– Name
- Position
- Roles
Other fields are optional and not required.
4. Roles. Let’s consider this item separately. If you need to create an administrator account, select “Teacher” in the “Roles” field.
5. “Show customer contacts”. If the teacher needs to see the clients’ contacts (email and phone number), you can turn on this switch so that it glows orange. If not, the switch should be gray, i.e. off.
6. “See other teachers’ lessons”. If you have a teacher who needs to see other teachers’ lessons (perhaps a senior teacher), you can enable this option.
7. Can create tags for clients. A tag is a note, a note, a mark on a client. If the teacher needs to indicate the source of the client’s involvement, create pair and group lessons, then you can allow the teacher to do so. However, if the administrator or owner does this in your company, it’s up to you to decide whether or not to give the teacher access to create tags.
8. View only. This switch, on the contrary, narrows the teacher’s capabilities in the system, since the teacher will only be able to see his/her schedule, but will not be able to physically mark lessons as completed or perform any other actions in the system.
9. Can create clients. If you have a teacher who can create and add new clients to the system, you can give this function to an employee. If your administrator does it, you don’t have to. By default, this extension is disabled in teachers’ offices.
10. Show subscriptions. The teacher can see the current subscription for their students – the balance of classes, the expiration date of the subscription, and the cost paid by the company’s client for the class. Therefore, if you wish, you can give this option to the teacher.
11. Cash desk
You can give a co-owner access to the cash register. If you give access, the employee will be able to view financial information and accept and make payments from customers.
12. Can change payments made
You can grant access or not.
13. At the bottom is the “Print or select” ribbon.
You can give an additional specific tag to the employee so that you can filter. The tag can be anything – subject (if it is a teacher), branch, etc. However, you can simply skip this field.
14. After filling in all the necessary information and opening the role, you can click “Update employee information” at the bottom right.
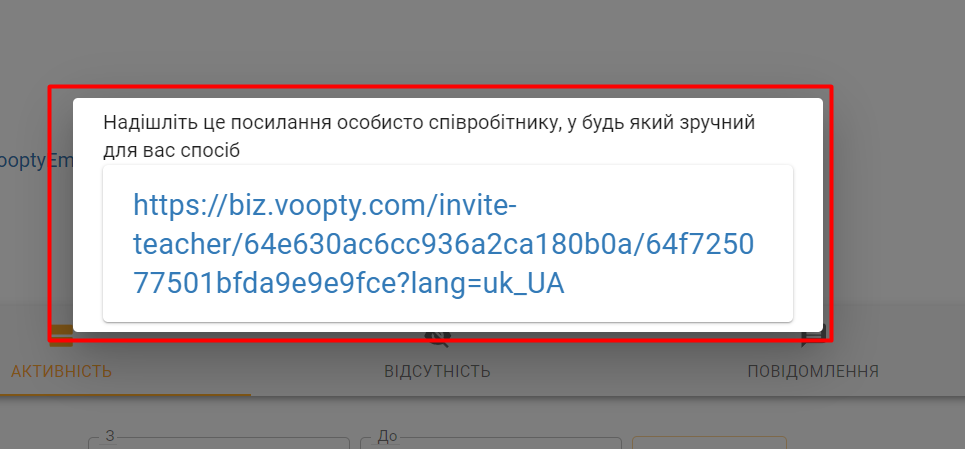
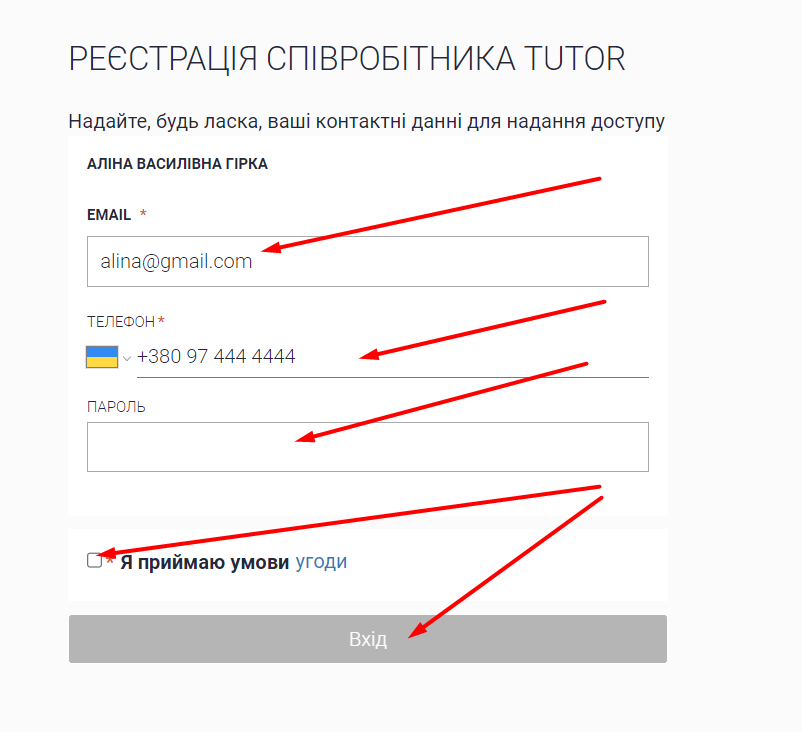
15. Then the employee is registered and logs in to the system
However, if this teacher gives individual lessons, the configuration of their profile is not yet complete.
The following steps are required:
16. Go to the “Courses and groups” section.
17. At the bottom right, select “Add course”.
18. Fields for filling in appear. Fill in the following fields:
– Name (this is the name of the teacher)
- Year type (if the teacher teaches several years, select one of them)
- Employee (select the same employee in whose honor this course is named)
19. At the bottom right is the “Save Course” button.
20. You will need to do this for all teachers who teach individually.
This completes the configuration of teachers.
Video lesson: