How to create season ticket templates.
Back- Go to the section “Setting up prices and subscriptions”
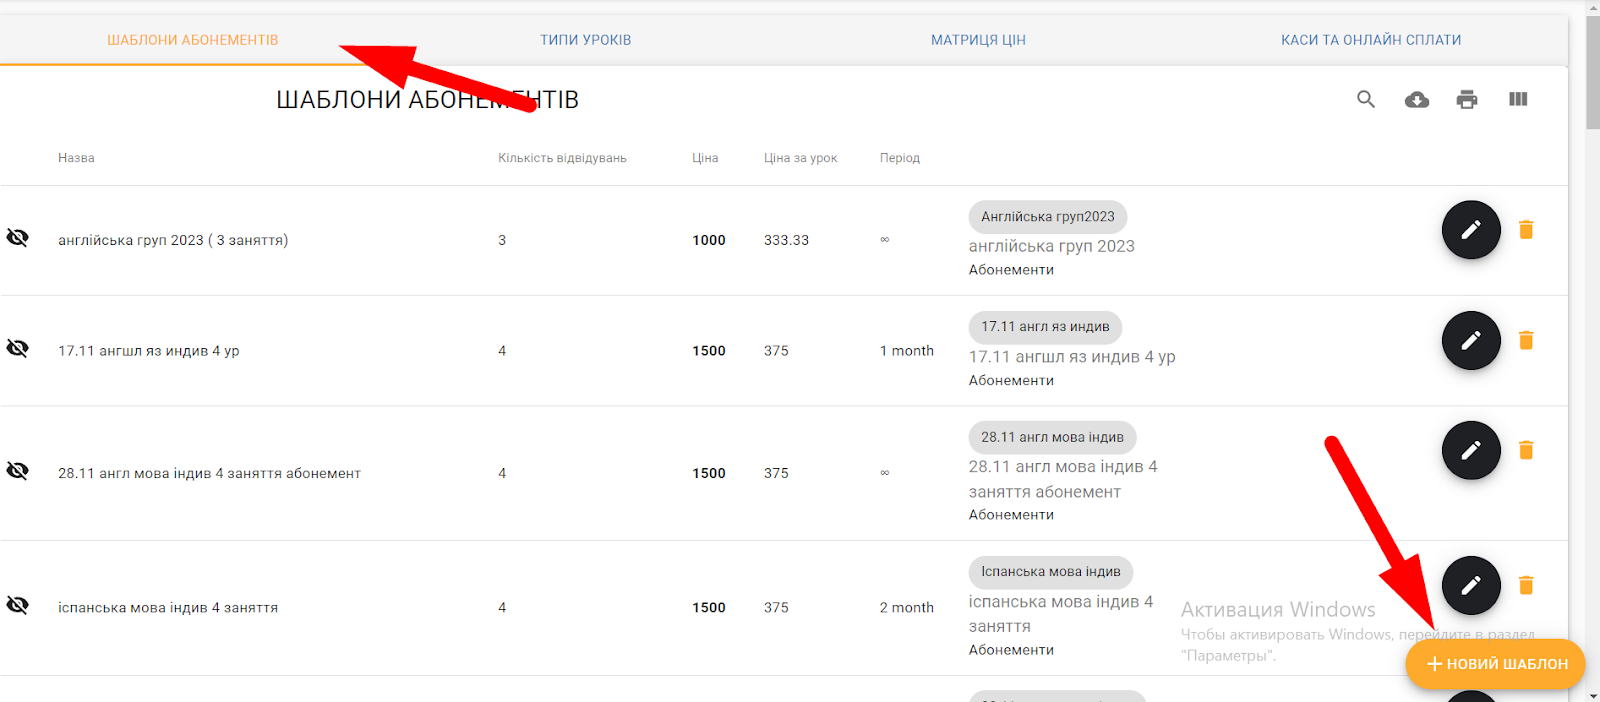
- At the top, select the “Season ticket templates” direction
- At the bottom right “+ New template”
- A new window appears. Fill in the following fields:
- Name (for example, “English for adults 8 lessons”
- Description (the description can completely duplicate the title”
- Choose whether or not you need a subscription for Free Style. If yes, check the box next to Free Style . If not, just leave it unchecked and move on.
- Indicate the number of visits that are included in this particular subscription with a simple number (for example, “8”).
- Choose whether the pass will have an expiration date or not. If so, specify the number of periods. A period is a day, week, or month. If the season ticket does not have an expiration date, then check the box “No expiration date”.
- “Allow overlapping season tickets” – it is better to select and check this box. This means that the client can have several subscriptions at the same time. For example, a student is studying several subjects/areas at the same time and has several subscriptions or has paid in advance for two or more subscriptions.
- “Can be used by several clients” – if you have some students (for example, within a family) who pay for one subscription for two, then it is better to check this box.
- “Price”. Here you should indicate the cost for all classes within the subscription. (If you have indicated that the subscription is for 8 classes, then the cost should be indicated for 8 classes here)
- “Private (don’t show on my public page)” – if you have a published landing page and you want your landing page to not show the cost of your subscriptions, then it is better to check this box. If you don’t plan to publish a Voopty landing page, you can simply skip this field.
- “Works with lesson types” is an important field. Indicate which lesson types this subscription works with. (You should have created lesson types at the very beginning of working with the system. However, if you haven’t created them yet, you can simply save the subscription as it is, add the lesson types, and then return to the subscription and add the lesson types now). That is, if this is an English subscription for individual lessons for children, then the lesson type should be something like “English for children individually” and so on.
- After filling in all the fields, there is an orange “Save” button at the bottom right that you should click to save the settings for this subscription
- Similarly, you can configure all season ticket templates that exist in the company.

Video tutorial: