If I have a co-owner, can I add him or her to the system?
Back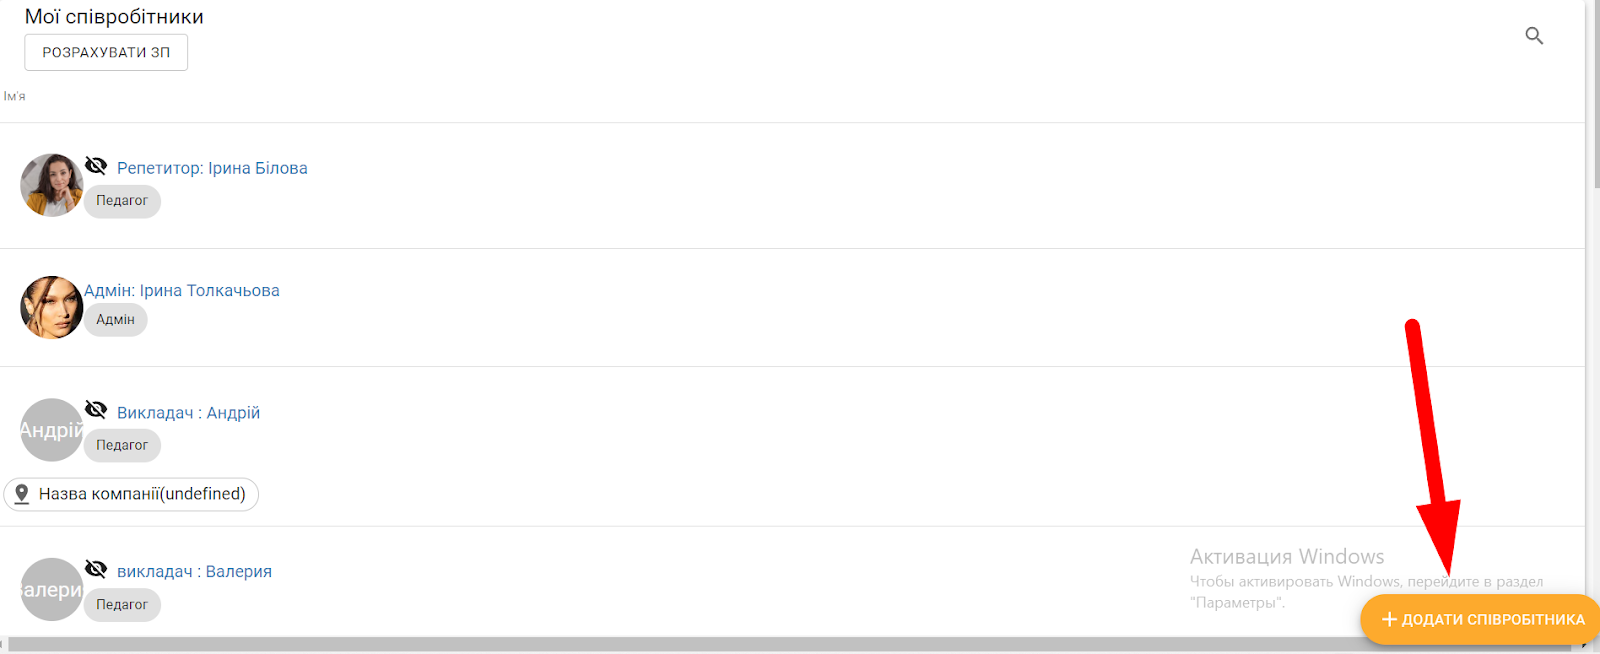
Yes, in the system, as soon as you register, you have the owner’s access and from this account you can start giving access to your colleagues and employees
How to give access to your company to a co-owner:
- Go to the “My employees” section.
2. At the bottom right there is an orange button “Add employee”, click on it.
3. Fields for filling in the data appear. The required fields are:
– Name
- Position
- Roles
Other fields are optional and not required.
4. Roles. Let’s consider this item separately. If you need to create a co-owner’s account, you give the role “Owner”. However, since you have the main account, you can moderate the ability of the co-owner to use the system and adjust what additional features your partner will have and what, on the contrary, will not have in the system.
5. Switches.
“Can create customer tags” – you can enable or disable this option. A tag is a label, an additional comment on a client. It is very important for filtering clients, mailing lists and groups or paired classes.
“View only” – if you enable this, your partner will not be able to perform any actions in the system, they will just be able to watch, but will not be able to make any adjustments in the system.
6. Cashier.
You can give your co-owner access to the cash register. If you give access, the employee will be able to view financial information and accept payments from customers.
7. Can change payments made
You can grant or deny access if you wish.
8. At the bottom is the “Print or select” ribbon.
You can give an additional specific tag to an employee so that you can filter. The tag can be anything – subject (if it is a teacher), branch, etc. However, you can simply skip this field.
9. After filling in all the necessary information and opening the role, you can click “Update employee information” at the bottom right.
10. The employee is then registered and logged in.
Video tutorial: